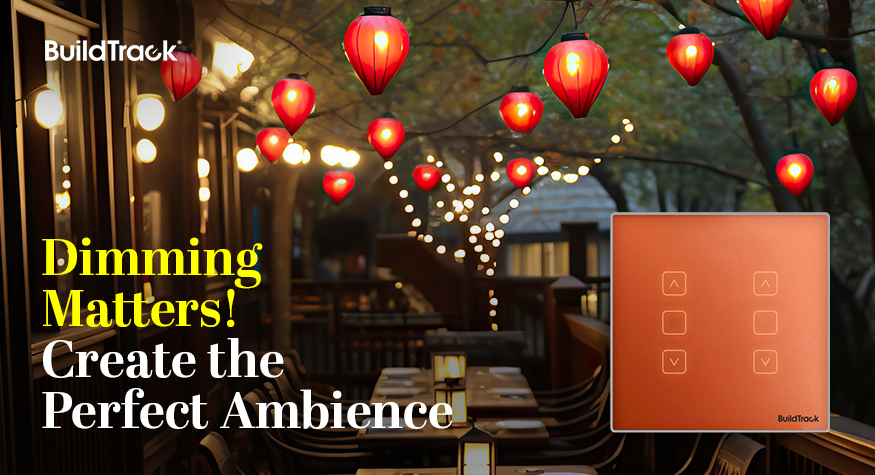
Dimming Matters: How to Choose the Right Method for Your Space

A breakdown of phase-cut, analog, and DALI dimming — and how BuildTrack extends DALI scenes beyond lighting to AC, fans, and media.

Why Dimming Is a Design Decision, Not an Afterthought

Most lighting plans stop at fixture choice and layout — but the ability to dim is what actually lets a space serve more than one purpose. A conference room that dims for a presentation, a dining area that shifts from daytime brightness to evening warmth, a bedroom that goes from full task lighting to a low glow at night — none of that is possible without a dimming method built into the fixture from the start.

Getting this right matters for four practical reasons:

  • Energy efficiency — lower brightness draws less power, directly reducing lighting-related energy costs.
  • Extended fixture lifespan — LEDs run cooler and degrade slower at reduced output, cutting replacement frequency.
  • Comfort — matching light levels to the task reduces eye strain, particularly in spaces used for long stretches.
  • Mood and flexibility — the same room can support entirely different uses across a day without re-lighting it.

How LED Drivers Handle Dimming

LED drivers regulate the power delivered to LED fixtures, and dimming capability lives at this level rather than in the bulb itself. Drivers are broadly either Constant Voltage (typical for LED strips) or Constant Current (typical for COB lights) — which type you need depends on the fixture, not personal preference.

Three dimming protocols cover most installations: phase-cut, analog (0-10V), and DALI (digital). Each has a different cost, wiring requirement, and dimming quality — the right choice depends on whether you’re retrofitting an existing space or wiring a new one.

Phase-Cut Dimming

Adjusts brightness by modifying the power supply itself — the same method long used with incandescent and halogen bulbs, now adapted for LEDs via compatible drivers.

Pros: easy to retrofit into existing wiring, cost-effective, works with a wide range of existing dimmer switches.

Cons: can flicker or have compatibility issues with certain LEDs (test per fixture), offers a less precise dimming range, and can produce audible noise in some setups.

Analog (0-10V) Dimming

Controls brightness by adjusting DC voltage or current directly in the driver string.

Pros: smoother, more consistent control than phase-cut; well suited to new installations with dedicated control wiring.

Cons: requires control wiring running from the driver back to the switch — difficult to add in a retrofit where new wiring isn’t an option.

DALI Dimming

A fully digital protocol that sends commands over a shared bus, built on an open standard for interoperability across manufacturers.

Pros: the smoothest control available, especially at very low dimming levels; supports individual or grouped dimming; enables scene-based control across multiple fixtures at once.

Cons: DALI drivers cost more than phase-cut or analog equivalents, and standard DALI scenes are typically limited to lighting — AC, fans, and media devices aren’t natively included.

BuildTrack extends this last limitation directly: its scene engine brings AC, fan, and media control into the same DALI-based scenes as lighting, so a single scene trigger — “Meeting Mode,” “Evening,” “Presentation” — can shift the whole room at once rather than lighting alone.

Choosing the Right Method for Your Space

Retrofitting an existing space without new wiring generally points toward phase-cut. A new build with dedicated control wiring can support analog or DALI. Where scene control across multiple fixture types — not just lighting — matters, DALI is the only one of the three that supports it, and it’s the protocol BuildTrack’s touch switches are built around: dimming, tuning, scene creation, scheduling, and color adjustment from one interface.

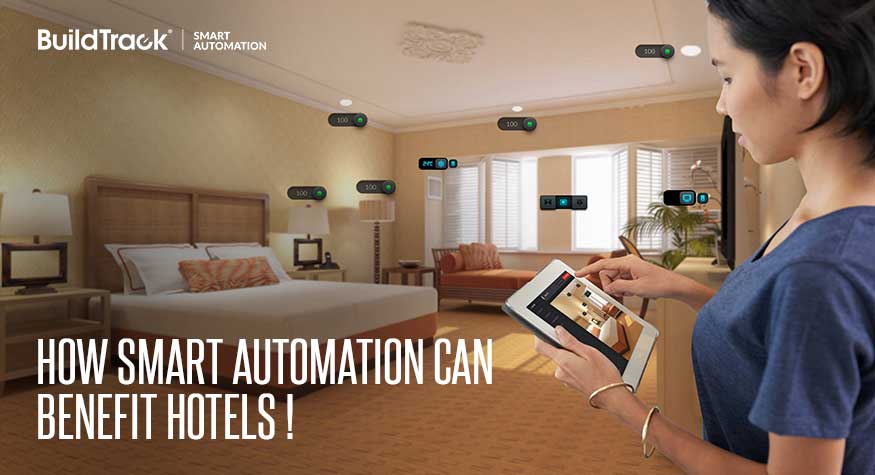
How Smart Automation Improves Guest Experience and Cuts Operating Costs in Hotels

A look at how centralized guest-room, banquet, and building-wide automation works in practice — deployed across properties from business hotels to international chains.

Why Hotels Are Moving to Centralized Automation

Every hotel runs on the same set of moving parts — lighting, climate control, door access, housekeeping requests, banquet halls, and back-of-house systems like pumps, DG sets, and elevators. Traditionally, each of these is managed separately: guests control their room manually, staff track housekeeping on paper or radio, and engineering monitors building systems from a separate panel entirely.

Centralized automation brings all of it — guest room, banquet space, and building operations — onto one platform, without requiring hotels to rebuild rooms that are already finished and generating revenue.

Guest Room Automation

Indoor and Outdoor Panels

Guest rooms are controlled through wired indoor and outdoor touch panels — tempered-glass switches at the door and bedside that let guests trigger service requests like DND (Do Not Disturb), MMR (Make My Room), and Laundry directly, rather than calling the front desk.

Smartphone-Based Control

Guests can also use their own smartphones to trigger room scenes, manage the AC, and toggle room service indicators — useful for guests who’d rather not learn a new panel, and for hotels that want a contactless option built in.

Occupancy-Based AC and Power Control

Rather than leaving room AC running regardless of whether anyone’s there, BuildTrack’s retrofit solution ties AC operation to card-key placement — the same card guests already use to enter the room. Motion sensors extend this logic to corridors, bathrooms, and elevators, cutting lighting energy waste in spaces that are only occupied intermittently.

Centralized Monitoring

A single platform links every guest room together, tracking real-time occupancy, room status (DND, made-up, ready for turndown), and service requests as they come in. Staff receive notifications routed to whoever’s assigned to that room — replacing the manual coordination that usually eats into housekeeping response times.

Banquet Room Automation

Banquet halls, meeting rooms, and conference spaces have different demands than guest rooms — they need to shift quickly between event configurations rather than stay in one static state. Centralized lighting and AC control lets staff adjust an entire banquet hall from one interface, with DALI-compatible scene control so lighting presets can be triggered from a keypad or smartphone as the room transitions from a conference setup to an evening event.

Hotel Operations Automation

Building Management System

Beyond guest-facing spaces, the same platform extends to the building’s core electrical and safety infrastructure — indoor and outdoor lighting, motors, pumps, DG sets, elevator status, and water tank levels — with central monitoring of safety systems (smoke, gas leak) and security sensors (intrusion, glass break) across the property.

Smart Door Locks

Guest room security runs on Mifare card and mechanical-key door locks with centralized lock-management software, so front desk and engineering can manage access across the property from one system rather than per-lock.

Deployed Across a Range of Properties

This isn’t a theoretical framework — BuildTrack’s hotel automation is running in guest rooms today across business hotels, resorts, and international chain properties, including Holiday Inn, Hyatt Regency, InterContinental Hotels & Resorts, Ramada, Best Western Resort Country Club, Club Mahindra, The Imperial New Delhi, Fort Rajwada, Vijan Business Hotel, and others.

The retrofit approach is the same regardless of property size: existing centralized or decentralized wiring stays in place, rooms stay in revenue-generating condition throughout installation, and the guest-facing panels and door hardware fit into the room’s existing design language rather than requiring a redesign around them.

Getting Started

Hotels evaluating automation don’t need to commit to a full-property rebuild to see the benefit. A single floor or wing — guest rooms plus one banquet space — is usually enough to validate the retrofit approach, the staff workflow changes, and the actual energy and labor savings, before extending it property-wide.

About the author

Akash Singh writes on hospitality automation and building systems for BuildTrack, a Surmount Energy Solutions brand.

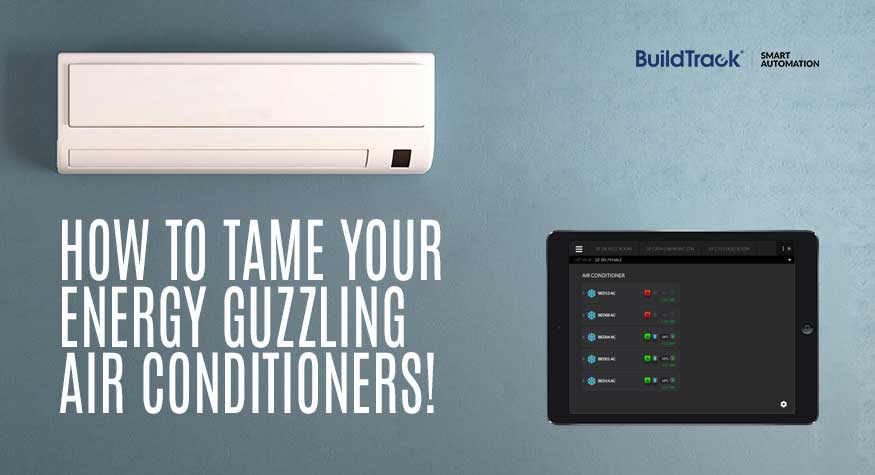
How to Cut Your Office AC Energy Bill by 15-30% Without Rewiring or Replacing a Single Unit

A practical guide to fixing the most common causes of wasted air conditioning energy in Indian offices — with a real deployment case study.

Why Air Conditioning Dominates Your Office Energy Bill

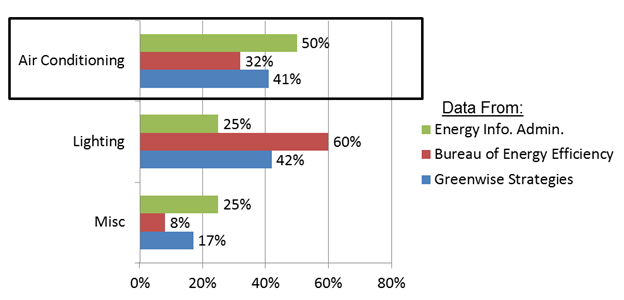
Every office runs on a mix of lighting, computers, and other equipment — but air conditioning is almost always the single largest line item on the energy bill, typically accounting for 35-50% of total office energy consumption.

Most offices don’t run one AC system — they run several, often different ages, brands, and types (window units, split units, and VRV/VRF systems) scattered across cabins, open seating areas, server rooms, and conference rooms. Each one is usually controlled independently — by an individual’s IR remote, or in the case of older window units, directly at the power supply.

That decentralization is exactly where the waste creeps in.

5 Ways Offices Waste AC Energy Without Realizing It

Studies of typical commercial deployments show that 10-30% of the energy consumed by office ACs is wasted on cooling that nobody is actually using. Here’s where it comes from:

ACs Left Running in Vacant Rooms

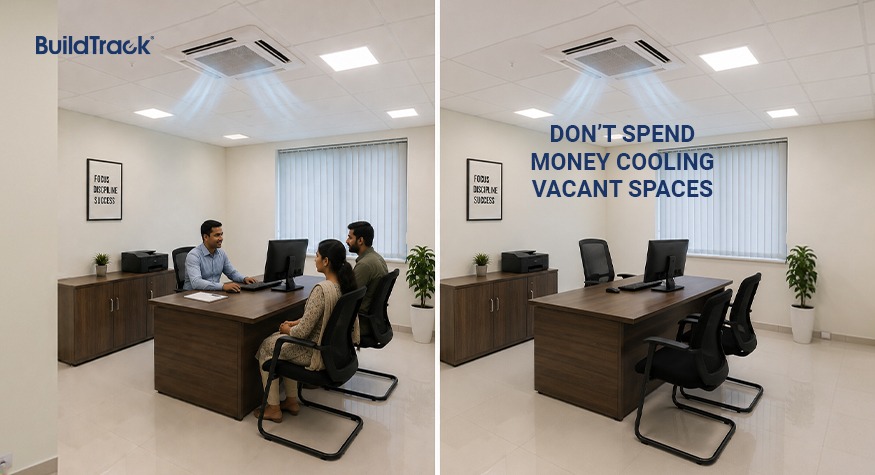
Without occupancy detection, a conference room or cabin AC keeps cooling long after the last person has left.

No After-Hours Scheduling

ACs that aren’t tied to a schedule frequently stay on well past closing time, cooling an empty office overnight.

Set Points Below the Efficient Range

Every degree below 24°C increases AC power consumption by roughly 3-5%. Multiply that across dozens of units set to 18-20°C by individual preference, and the losses compound fast.

Multiple Units Fighting Each Other in One Space

Without room-level temperature monitoring, it’s common for two or three ACs to run in the same space when one would do the job — because no single system is coordinating them.

No Control During Peak Tariff Periods

Most offices have no easy way to shut down or throttle ACs during peak electricity rate windows, even though that’s when the cost per unit of cooling is highest.

Why Most Offices Don’t Fix This

The waste is well understood — so why does it persist? In our experience working with facility teams, it usually comes down to two assumptions:

  • “Our office is already finished — we can’t run new wiring for a smart system.”
  • “Our existing ACs are too old / from too many brands to bring into one system.”

Both are reasonable concerns, but neither is actually a blocker. Modern retrofit control layers — wireless or using a single existing wire loop — can bring a mixed fleet of ACs from different brands and vintages under one system without re-wiring or altering the finished aesthetics of the space.

Case Study: Centralizing AC Control at a Medical College in Kolkata

To make this concrete, here’s how BuildTrack solved this exact problem for R.G. Kar Medical College, a medical school and hospital in Kolkata.

The challenge: The college’s Public Works Department (PWD) was responsible for operating and maintaining a large, mixed fleet of air conditioners — O-General, Mitsubishi, and Hitachi units — spread across ground, first, and second floor wards, labs, and doctors’ rooms. PWD needed a way to monitor and control all of them centrally, without replacing the existing hardware.

The deployment:

  • A wired system using an RS-485 loop, connected to a local BuildTrack server — a single cable loop carries both power and communication to every node.
  • IR nodes with CT (current transformer) input on each AC, so the system can both send commands and verify actual operating current — not just assume a command worked.
  • Power nodes with manual override, so on-site staff retain direct physical control alongside the automated system.
  • Temperature and humidity sensors placed across the wards and labs to drive occupancy- and condition-based control rather than blanket scheduling.
  • A dashboard and mobile app giving facilities staff a single view of every AC’s status, temperature, and fan speed — down to individual bed and room level — plus a full activity log of every remote command issued, with location and timestamp.

The result: PWD staff can now view, group, schedule, and override every air conditioner in the building from one interface — regardless of brand — with full visibility into runtime and consumption for reporting.

This is the same underlying model behind the general guidance above: retrofit control at the node level, one communication backbone, and centralized visibility — rather than assuming a mixed, finished-building AC fleet has to be replaced or rewired to be brought under control.

What a Retrofit AC Control System Actually Delivers

Across deployments like this, the levers that reduce consumption are the same ones listed earlier in this article, now automated:

  • Scheduling — ACs turn off automatically outside working hours, no manual step required.
  • Auto ON/OFF based on occupancy — tied to presence rather than habit.
  • Set-point correction — bringing outlier units back to an efficient range.
  • Overcurrent shutoff — units drawing current beyond their rated limit are flagged and can be shut down, addressing a fire-safety risk alongside the energy waste.

For a typical 1.5TR office AC, average daily consumption runs around 12.5 kWh. Applying scheduling, occupancy control, and set-point correction across a fleet like this typically reduces that consumption by 15-30%, with a payback period of 6-15 months — figures consistent with BuildTrack’s two-time CII Excellence in Energy Management Award and its 4-star Bureau of Energy Efficiency (BEE) rating.

Getting Started

You don’t need to gut a finished office or replace working AC units to fix this kind of waste. Start with an audit of what’s actually running against who’s actually in the room — that gap is usually where the first 10-15% of savings is sitting, before any hardware conversation even begins.

About the author

Aditya Chemburkar writes on energy efficiency and building automation for BuildTrack, a Surmount Energy Solutions brand.

How are IoT and home automation related?

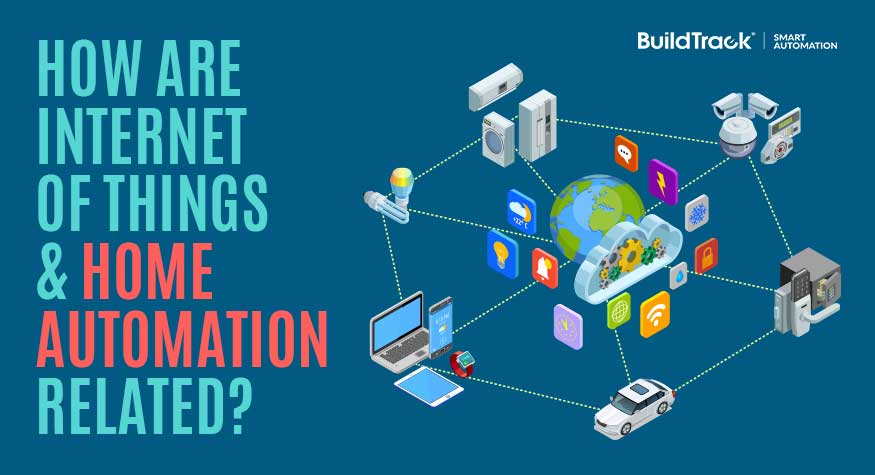
Home automation is one of the most common real-world applications of the Internet of Things (IoT). It uses internet-connected sensors, actuators, and cameras to let you monitor and control your home’s lighting, security, and appliances remotely — from anywhere, using a phone, tablet, or computer.

What is IoT (Internet of Things)?

IoT refers to devices that can connect to the internet and communicate with users or with each other over it. In a home automation context, these devices typically fall into four categories:

  • Sensors — for safety monitoring (fire, smoke, gas leak), security (door intrusion, glass break, motion), and equipment monitoring
  • Actuators — devices that control electrical switches, plug points, or equipment
  • Cameras — devices that stream video or images over the internet, such as video door phones
  • Smart appliances and equipment — sensors and actuators built directly into products like microwaves, refrigerators, or thermostats

How IoT powers home automation

The goal of home automation is to make homes safer, more secure, and more convenient. Each category of IoT device contributes to that goal in a specific way:

Sensors

Fire, smoke, gas leak, door intrusion, glass-break, and motion sensors are the backbone of a home’s safety and security layer — detecting problems and triggering alerts before they escalate.

Actuators

Actuators control the switches and plug points around your home — lighting, dimming, fan speed, curtain motors, and more — turning a passive switch into something you can automate, schedule, or trigger remotely.

Cameras and video door phones

Video door phones let you see and speak with visitors at your door in real time, whether you’re in the next room or on the other side of the city.

IR blasters

IR blasters extend automation to devices that only take infrared remote signals — air conditioners, fans, heaters, TVs, set-top boxes, and music systems — bringing them into the same connected system as your switches and sensors.

Thermostats

Thermostats combine a sensor (ambient temperature) with an actuator (AC or heater control) to maintain a set comfort level automatically, without manual adjustment.

Traditional home automation vs. IoT-based home automation

Home automation existed before IoT did. Older systems relied on dedicated wall-mounted panels or remotes that only worked while you were physically present at home, communicating over local wiring or short-range signals.

IoT changed that by connecting those same devices to the internet. The core difference:

Traditional home automationIoT-based home automation
Control locationOn-site onlyAnywhere with internet access
CommunicationLocal wiring / short-range signalInternet (Wi-Fi, cellular)
Access deviceDedicated panel or remotePhone, tablet, computer, voice assistant
Data & insightsNoneUsage patterns, remote alerts, energy tracking

In short: IoT didn’t replace home automation — it’s the layer that made home automation remotely accessible, and that distinction is why the two terms are so often used interchangeably today.

Why Indian homeowners are adopting IoT-enabled automation

The shift toward connected homes in India is backed by market data, not just anecdote. Industry research values India’s home automation market at roughly $3.86 billion in 2024, with projections to grow to nearly $14.93 billion by 2033 — a compound annual growth rate above 16%. Home security and safety features alone account for close to half of current demand, driven in part by insurers offering premium discounts for IoT-enabled risk mitigation.

Adoption isn’t limited to security. Health monitoring and assisted-living use cases — fall-detection mats, medication reminders, remote consultations — are forecast to be one of the fastest-growing categories as India’s older population expands, while energy management features are gaining traction alongside rooftop solar installations.

BuildTrack’s IoT-based home automation solutions

BuildTrack brings all of the above — sensors, actuators, cameras, and thermostats — together into a single connected system designed for Indian homes, from individual apartments to full villa and senior-living installations. Explore our home automation solutions, including our smart touch switches, energy efficiency solutions, and building management systems for larger properties.

FAQs

Is home automation a part of IoT?

Yes. Home automation is one of the most widespread consumer applications of IoT — it uses internet-connected sensors and actuators to let you monitor and control home devices remotely.

What is IoT-based home automation?

It’s a home automation system where devices like sensors, actuators, cameras, and thermostats connect to the internet, so they can be monitored and controlled from anywhere rather than only on-site.

What’s the difference between home automation and IoT?

Home automation is the broader goal — making a home safer and more convenient. IoT is the technology (internet connectivity) that lets today’s home automation devices be controlled remotely rather than only locally.

What devices make a home “IoT-enabled”?

Common devices include smart switches and plugs, security sensors (smoke, gas, motion, door), video door phones, smart thermostats, and IR blasters that bring legacy remote-controlled appliances into the same connected system.

The Hidden Limitations of IR Blasters

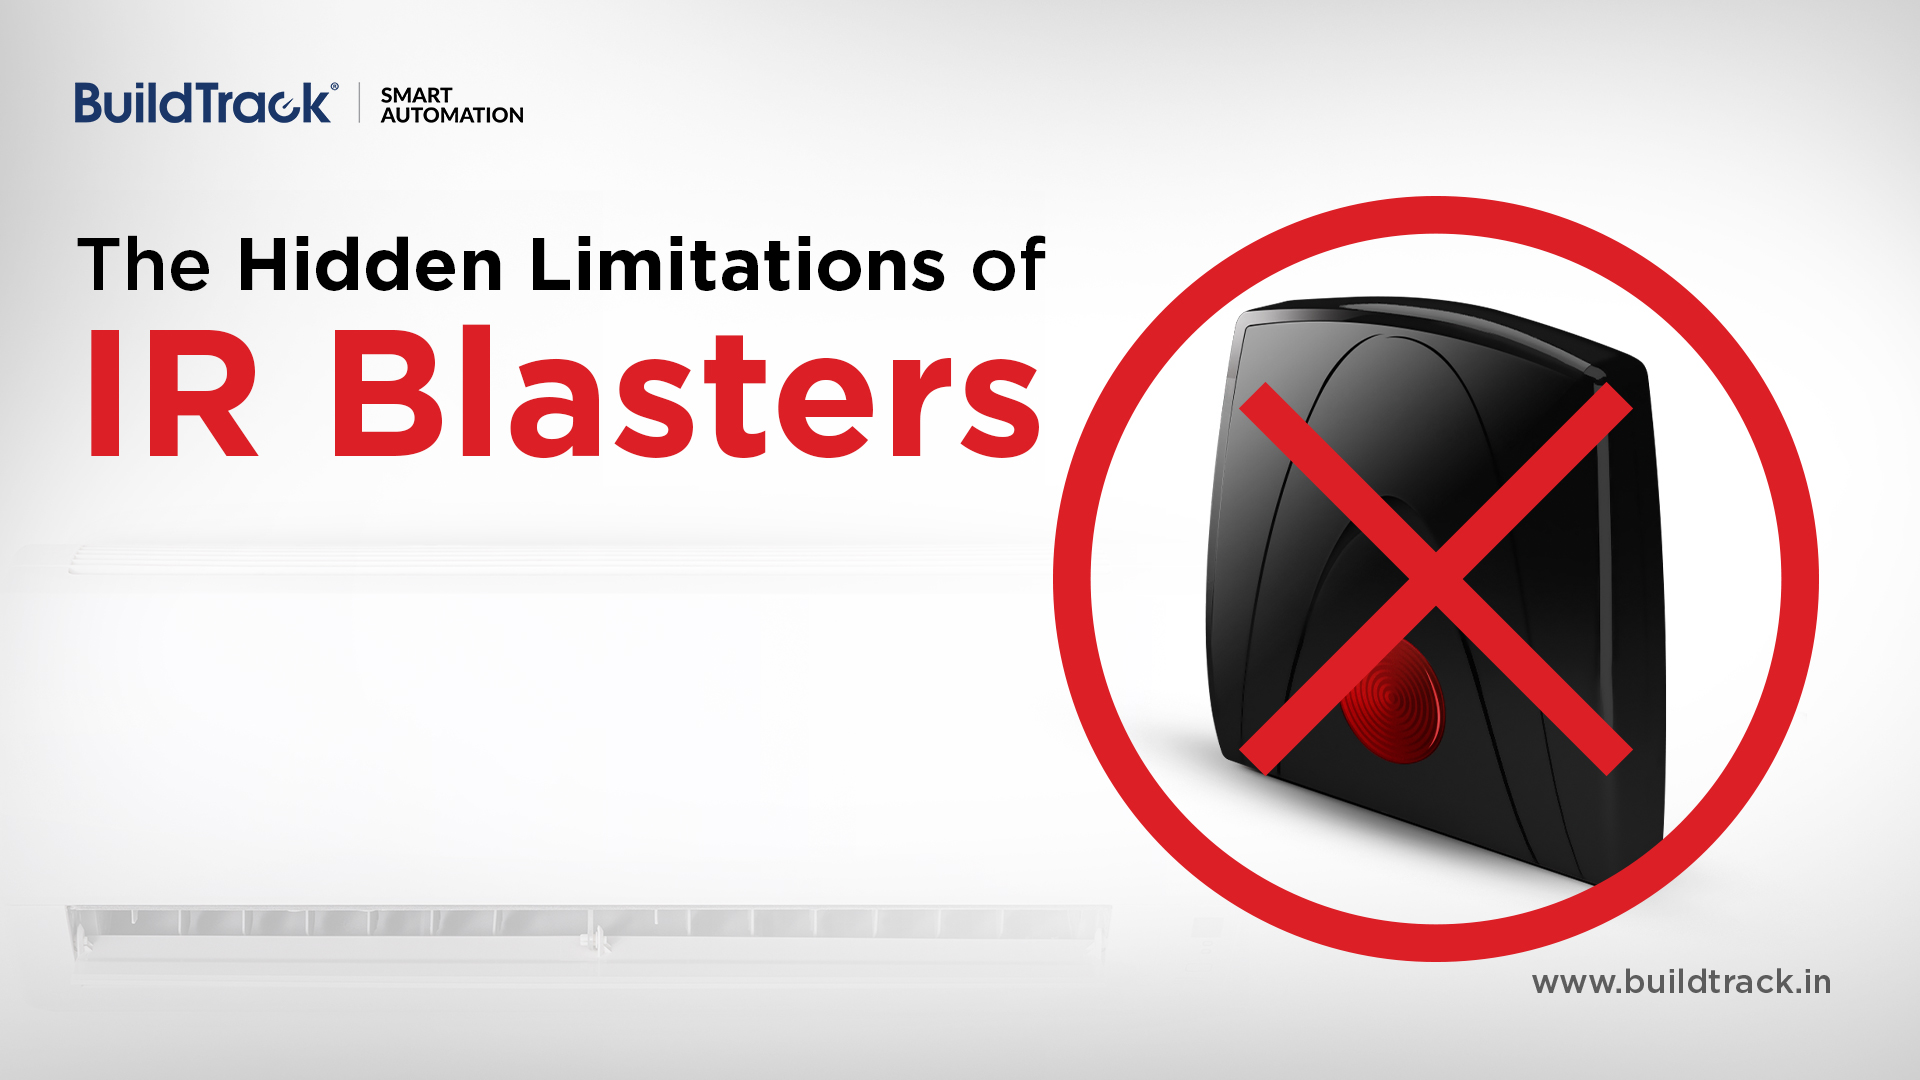
With the rise of smart homes, integrating air conditioners into automation systems has become increasingly common. Since most AC units, whether split systems, VRV, or FCUs are controlled using infrared (IR) remotes, many automation setups rely on IR blasters to replicate these controls via a mobile app.

At first glance, this feels like a simple and effective solution, but there’s a critical limitation that most users only discover after they start using it. It may not be providing you with the actual operating status of your AC!

How IR Blasters Work

IR blasters mimic your AC remote. Instead of pressing buttons on a physical remote, you tap controls in a Smart App. The app sends a signal (via Wi-Fi, Bluetooth, or the internet) to the IR blaster, which then transmits an infrared signal to the AC—just like a regular remote would.

It’s convenient, easy to set up, and widely used. However, the problem lies in what happens after the signal is sent.

The Problem: No Feedback from the AC

IR communication is one-way. Your AC receives commands, but it doesn’t send any confirmation back. This means:

  • The IR blaster does not know if the AC actually received the signal it sent
  • What you see on your Smart App may not reflect reality of AC status

When you press a button, you usually glance at the indoor unit to confirm it responded. That’s because even with a physical remote, there’s no feedback mechanism. IR blasters work the same way but without you being there to verify the result.

Your Smart App could be lying to you

Most automation apps display information like:

  • AC ON/OFF status
  • Temperature setting
  • Fan speed

But this data is not live feedback from the AC instead it is simply the last command sent from the app. The Smart App is showing you what it thinks happened not what actually happened and those two things can easily be different.

Common Real-Life Situations Where Things Go Wrong

1. Someone Uses the Physical Remote

Even in automated homes, people still use traditional remotes—it’s quick and convenient.

But when the AC is operated this way, the IR blaster is bypassed. The Smart App does not have this data and so the displayed status becomes incorrect. You might think the AC is OFF—while it’s actually running.

2. The IR Signal does not reach the AC

IR signals require a clear line of sight. Obstructions, placement or room conditions can prevent commands from reaching the AC reliably. The Smart App still assumes it worked and shows status as such, so the app and AC are not in sync.

You cannot trust the status shown by the system and this isn’t just inconvenient—it can lead to energy waste and higher bills.

A Better Alternative: IR Transceiver Technology

The IR Transceiver Technology solves this problem more effectively. An IR Transceiver Node sits directly at the AC’s IR receiver and acts as an intelligent intermediary:

  • It receives signals from any remote (including handheld remotes or smart phones with built-in IR) and – an IR Transceiver can be positioned to capture and manage incoming commands.
  • It receives the command and itself re-transmits to the AC

Since every command flows through the IR Transceiver Node:

  • The system always knows the last actual command executed

An IR Transceiver Node still does not get actual feedback from most ACs. A transceiver can verify if a signal was sent but it still cannot track the true state, however, yes it is better than IR blaster but does not guarantee actual status.

We can say that the syncing between the automation system and AC improves in comparison with IR blaster.

In short, when you move to IR Transceiver Node system you regain trust in your home automation system for accuracy and reliable status of your AC.

Centralized vs Decentralized Home Automation: A Quick Comparison

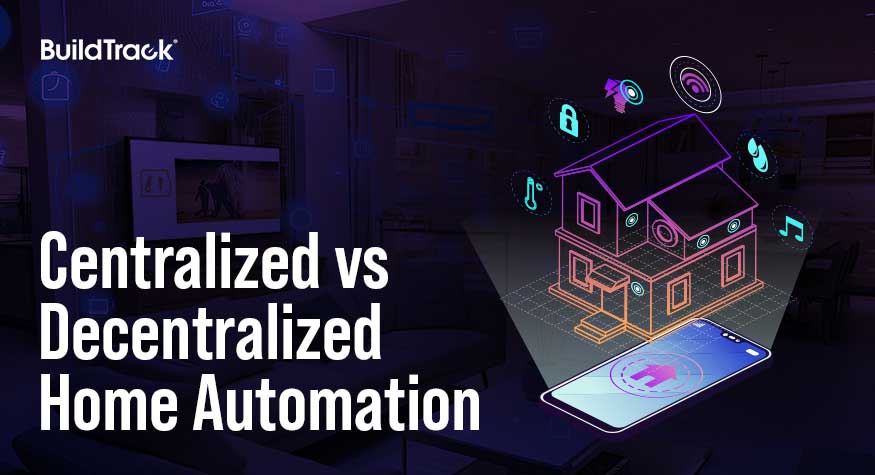
Home automation systems are rapidly transforming how we interact with our living spaces. These systems can be broadly categorized into two types: Centralized Systems and Decentralized Systems. Both have their unique advantages and drawbacks, especially concerning cabling and features. This blog will explore these aspects in detail to help you understand which system might be more suitable for your needs.

CABLING:

Centralized System

  1. Centralized Wiring Requirements
    • Separate Conduits: Centralization requires separate conduits for the control cable. This dedicated wiring increases complexity and cost.
    • Conventional System Shift: The rigid architecture of Centralization makes it nearly impossible to revert to a conventional system in case of a failure. The centralized controllers and keypads are critical points of failure; if they go down, the entire system stops functioning.
  2. Cost Implications:
    • Civil Work and Cabling: The need for separate conduiting and additional cables for keypads control supply drives up the installation costs. This is over and above the standard 230 V supply required for sockets, ACs, and other loads not managed by the control system.
    • Overall Expense: The combination of specialized cabling like ELV cables for Keypad control supply and additional civil work makes Centralized Systems a more expensive option compared to decentralized systems.

Decentralized System

  1. Flexibility in Wiring:
    • Integrated Conduits: Decentralized systems integrate control cables with existing wiring, reducing the need for separate conduits and additional cabling.
    • Stand-Alone Functionality: In the event of an automation failure, decentralized systems’ switches can continue to function independently, ensuring that basic operations remain unaffected.
  2. Cost Efficiency:
    • Reduced Civil Work: Less civil work is required as there’s no need for separate conduiting for control cables.
    • Lower Installation Costs: With no need for extensive additional cabling, the installation costs for decentralized systems are generally lower.

FEATURES

Centralized System

  1. Load Management:
    • Central Termination: All loads are terminated centrally and are managed exclusively through keypads. This can be limiting as it requires the entire system to be operational for any functionality.
  2. Limitations:
    • Fan Speed Regulation: Centralized systems generally do not include fan speed regulators, which are critical for Indian homes.

Decentralized System

  1. Versatility and Aesthetics:
    • Modular Assembly: Decentralized systems allow a combination of switches, keypads, and sockets in a single modular assembly. This flexibility ensures that you can maintain matching aesthetics throughout your home.
    • Touch and Electromechanical Switches: Both types of switches can be included and will continue to operate even if the controllers fail.
  2. Critical Features:
    • Fan Speed Regulators: These are typically included in decentralized systems, making them more suitable for regions that require detailed climate control.

Conclusion

Centralized systems (such as KNX) are sophisticated but generally tend to be more expensive and rigid once they are deployed. They also typically require significant civil work. In contrast, decentralized systems are typically more cost-effective and flexible solutions with and allow failure elements to be isolated without impacting the overall operations of the system or individual switches for the user. For most homeowners, decentralized systems provide a balanced, practical approach to home automation. Ultimately, the choice between a centralized and decentralized home automation system will depend on your specific needs, budget, and the level of complexity you are willing to manage.

TRANSFORMING SPACES WITH LIGHTING SOLUTIONS

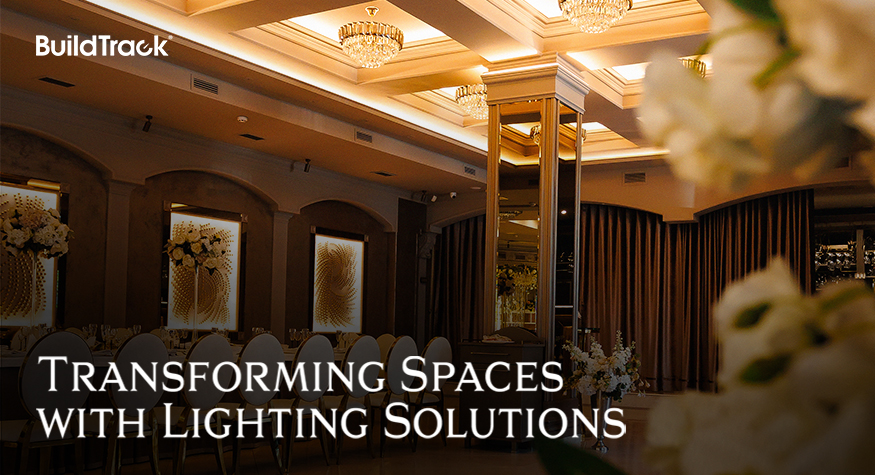
Exceptional lighting can transform any space, bringing it to life and captivating the senses. Thoughtful lighting design paired with automation can set the mood and enrich the overall experience of any space.

The impact of lighting on a space cannot be overstated. Whether it’s a restaurant, cozy living room, an elegant dining area, or a professional conference room, the right lighting can make all the difference. It can highlight architectural features, create focal points, and enhance the overall ambiance. With the right automation technology, these effects can be achieved effortlessly and consistently.

Essential Elements of Lighting Solutions

Lighting solutions need to provide the options that can work together like a symphony to enable the desired mood within a given space. Some of the essential capabilities that are needed within the deployed solution must be:

Dimming

The ability to dim lighting provides infinite opportunities to creatively craft the moods that are desired in a space. It becomes an indispensable canvas that can be used artistically both to address the various times of the day as well as to accentuate specific spaces or moods for situations which would benefit from it. LED lighting makes use of various types of drivers to achieve the desired level of dimming of each lighting fixture from the lowest to the highest. Different types of dimming such as Phase Cut or Zero-to-ten can be used based on the wiring limitations presented by the physical spaces.

Tunability

The capability of LED lighting to display various colour temperatures allows tunable lights to mimic the natural light that one observes over the various periods of the day. This lighting can vary from dim yellowish to daylight white. All this variety is achievable, as needed by users, in the same fixture by using smart LED drivers.

Colour Change

Some moods demand a variety of colours to be enabled in lighting. LED strips can accommodate these colour changes, again using drivers to create the type of ambience that is needed.

The Role of Automation

Lighting automation takes the benefits of thoughtful lighting design to the next level. By automating lighting systems, you can pre-program the desired type of lighting ambience that is needed. This happens through capabilities called Profiles and Schedules.

Profiles

This allows users to define a combination of various types of lights at various types of dimming, tunability and colour to be triggered from a single click on a physical button or an app. This provides the ultimate convenience of creating the desired lighting and the accompaniment of other elements (e.g. curtains, blinds, AC) to generate the desired.

Schedules

Either profiles or individual lighting may need to change based on either timing of the day or even time of the year. Schedules provide an automated way to ensure that the correct lighting profile is turned on or off at the desired time of the day and then switched to some other profile at another time, all without user intervention.

Incorporating exceptional lighting with advanced automation technologies can truly transform any space. BuildTrack offers a range of lighting automation solutions to maximize the potential of your lighting setup and deliver the best combination of ambience, energy efficiency and convenience.

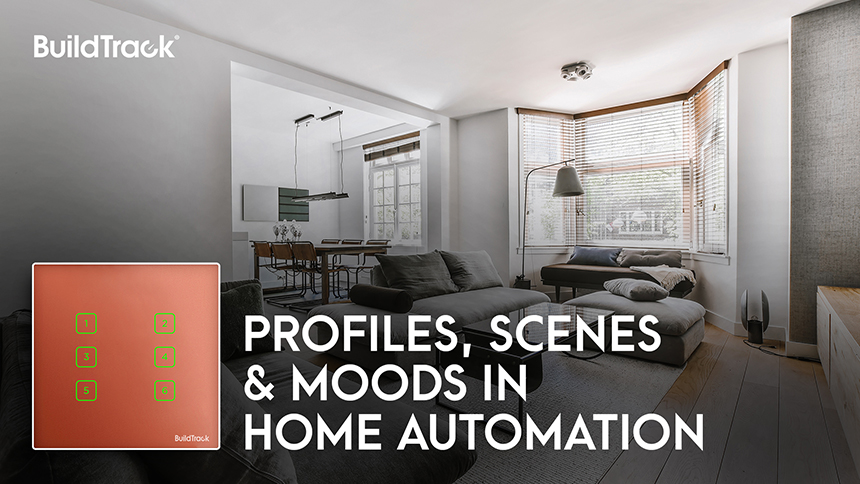
PROFILES, SCENES & MOODS IN HOME AUTOMATION

We use switches for every need we have for turning on/off electrical appliances. It is something that we are all used to. Most often though when one comes to a room, usually it is not a single switch that will be triggered. The lights may be triggered, the fan, maybe the AC instead if it is a hot day, perhaps the TV or music system and the curtains may be opened up part-way. These different things need to happen together to create the right ambience for the room. These combinations of gadgets or appliances that are triggered together is called a PROFILE, and often terms like SCENES or MOODS have also been used to describe them.

These PROFILES are not only dependent on the event, such as a movie or yoga or relaxation or party or going to bed or leaving the home or focusing on work etc. They can also be based on individuals’ preferences or time of the day or year. Relaxation during the daytime vs night will require different lighting scenarios, and similarly different air cooling if it is during summer vs. winter. So, PROFILES not only need to be many, but also needs to be flexible so that they can be changed as conditions change

Typically, the elements of the home that enter a profile can be one or many of these elements:

  • Lighting – ON or OFF
  • Lighting – various Dimming Levels between 0-100
  • Lighting – desired tunable temperatures for LED
  • Lighting – desired RGB levels
  • Fan – ON at specific speed levels or OFF
  • AC – Specific Temperature for cooling
  • TV & Cable – ON to certain channel or OFF
  • Curtains/Blinds – Either open to desired extent or fully closed
  • Door Sensors – Armed to sound alarm if door is opened

Any combinations of these devices should be possible on a PROFILE. Depending on the circumstances some of these devices may be used the PROFILE, and others may either be ignored or left alone in their original state when the PROFILE is triggered, or alternately they may need to be specifically required to be OFF as part of the PROFILE. All these considerations are important in the definition of a PROFILE.

Accessing these PROFILES on a daily basis should be easy, so they should be accessible either via Smart Apps or through touch switches available on a keypad or also via voice assistants. This kind of easy access through multiple means makes the PROFILE much easier to use on a daily basis. In some situations, PROFILES may be needed to be automatically triggered based on time schedules. So, if the Smart Apps allow for scheduling, then not just individual switches, but also PROFILES them which should be accessible on them.

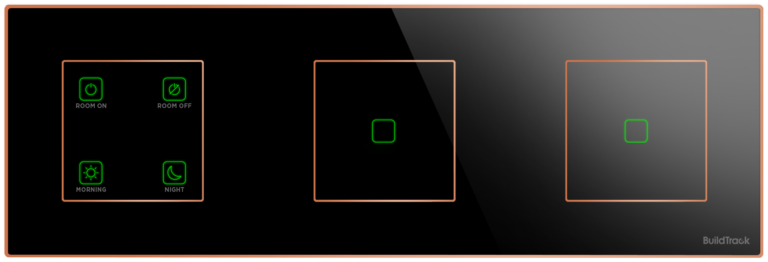
Keypads can be integrated into the same panel as individual switches. This is to allow the desired level of flexibility that is required by the user in each switch panel as sometimes control over individual elements of lighting, fans etc might be necessary.

Figure: This shows a 4 PROFILE key module on the left, with some individual light switches all present in the same Switch Panel

Figure: This shows a 4 PROFILE key module on the left, with some individual light switches all present in the same Switch Panel

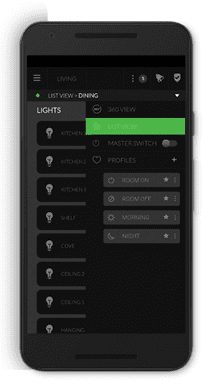
Figure: Smart App shows the same PROFILES as present on the Touch Keypads

The most appealing and useful Home Automation solutions should allow for any combination of the above-mentioned options as a part of the solution. They should be flexible to allow change in PROFILES as one either gets familiarized with them and wants some flexibility and changes to allow them to be comfortable with the ambience that is created. The intent of all these options is to ensure that you have the best ambience and living experience as a result of deploying these home automation solutions.

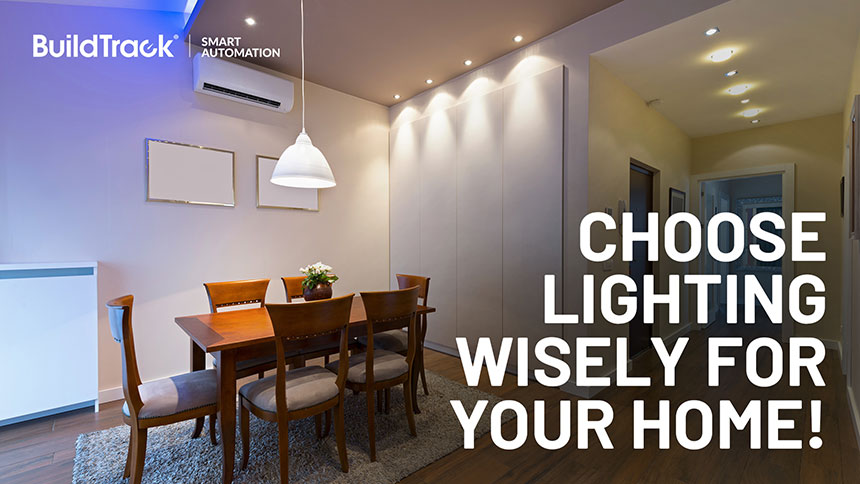
Choose Lighting Wisely for Your Smart Home

Planning to build or renovate your home? Lighting Automation is one of the first decisions you will make — and one of the most consequential for your smart home setup. Yet most homeowners choose their lights and their smart automation system independently, which leads to flickering fixtures, incompatible dimmers, and expensive rework.

This guide explains the key lighting types available today, how LED drivers work, and why your lighting choices must be aligned with your home automation system from day one.

What Lighting Options Are Available Today?

A few years ago, the choice was simple: incandescent or fluorescent. Today, homeowners have a far wider selection:

  • LED downlighters — the most common choice for recessed ceiling lighting in smart homes
  • LED strip lights — used for cove lighting, shelving, and architectural accents
  • RGB LEDs — full colour control for mood and accent zones
  • Tuneable white LEDs — adjustable colour temperature from warm to cool white, ideal for living and work spaces
  • Magnetic track lighting — modular, repositionable spotlights on a low-voltage rail
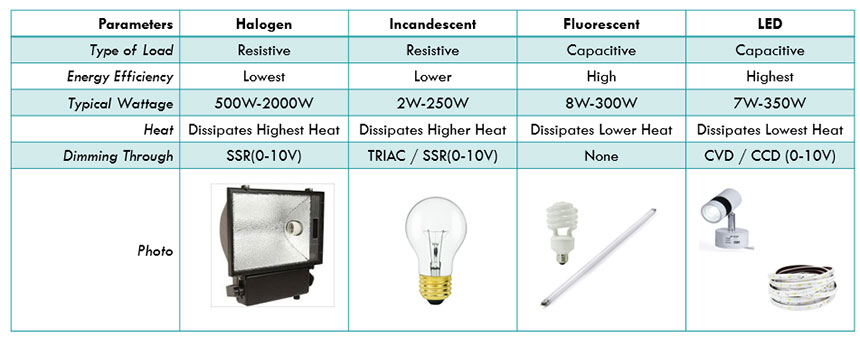
  • Halogen lamps — a resistive load, simpler to dim, but energy-inefficient compared to LED

Each type has different wiring requirements, dimming behaviour, and compatibility constraints when connected to automation. Consulting a lighting designer or showroom is recommended for complex projects — but understanding the basics yourself prevents costly mismatches.

Basic types of lighting automation and touch switches with some key information about energy efficiency

Understanding LED Drivers: CVD vs CCD

Unlike halogen or incandescent bulbs, LEDs cannot be connected directly to mains power. They require a driver — a device that regulates the electrical supply to the fitting. There are two types:

CVD (Constant Voltage Driver) Supplies a fixed voltage, typically 12V or 24V DC. Used with LED strip lights, RGB systems, and magnetic track lighting. The driver wattage must match the total wattage of the connected strip or fittings.

CCD (Constant Current Driver) Supplies a fixed current (measured in milliamps). Used with LED downlighters and high-power LED modules. The output current must precisely match the LED fixture’s specification.

Getting the driver type or wattage wrong — even slightly — can cause persistent flickering immediately or after some time, and significantly reduce the lifespan of expensive LED fixtures.

How Smart Switches Connect to Your Lighting

Smart touch switches and dimmers do not connect directly to your LED fittings. They connect to the LED driver, which then powers the fixture. For dimming to work correctly through an app or voice assistant (such as Alexa or Google Home), the smart switch must be compatible with the specific driver type it is connected to.

This means three components must be specified together:

  1. The LED fitting
  2. Its driver (CVD or CCD, correct wattage)
  3. The smart dimmer switch (rated and tested for that driver type)

If any one of these three is mismatched, the result is a system that either does not dim, flickers under load, or fails prematurely.

Why Lighting and Automation Must Be Planned Together

The most common mistake during home builds and renovations is treating lighting selection and smart home automation as separate decisions. By the time the electrician is on site, incompatible products have already been purchased — and resolving the mismatch after wiring is complete is significantly more expensive than planning correctly upfront.

The right approach is to specify lighting type, driver, and smart switch as a single coordinated decision for each zone in the home.

BuildTrack Smart Dimmer Switches

BuildTrack offers a range of touch switches designed for both on/off and dimming control of LED lighting systems. Their compact dimmer range accommodates multiple dimming switches in a minimal footprint — useful in high-density switch plate configurations.

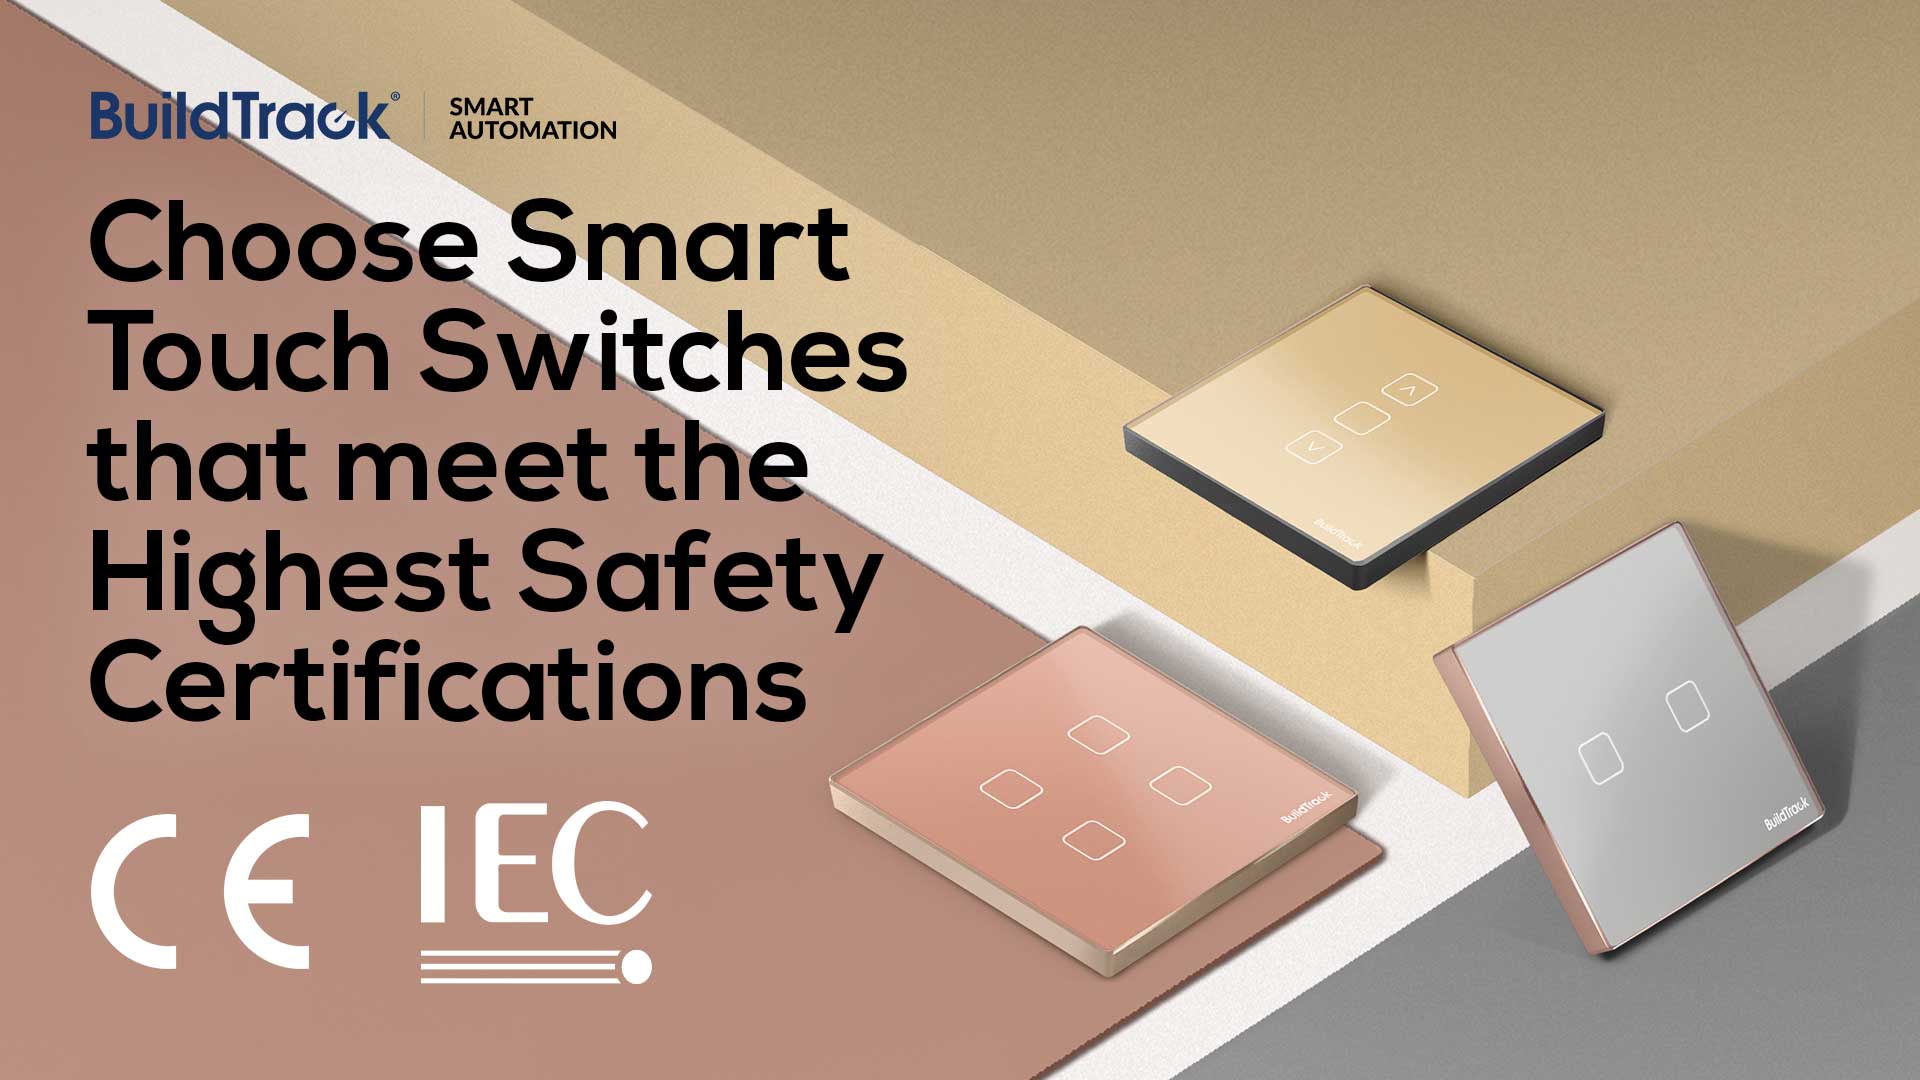
Switches are available with tempered glass surfaces and metal framing in a range of finishes, allowing them to complement the interior aesthetics of the room while meeting the technical requirements of the connected lighting.

You can specify and configure your switch plate online using BuildTrack’s Build Your Switch tool.


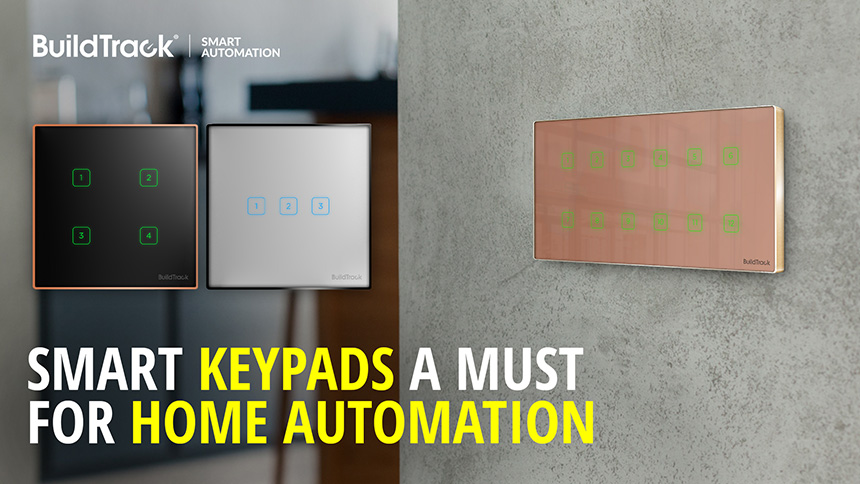
SMART KEYPADS: A MUST FOR HOME AUTOMATION

Homes these days have multiple types of lights – cove lights, chandeliers, wall décor lights, party lights and within these there is the added choice of dimmable lights, tunable lights, LED color strip lights and more. In addition to this lighting variety, there are other diverse comfort elements in a room. These are devices such as Fans, Air Conditioners , Curtains, Blinds, projectors, TVs and more. These various items in the home are rarely used one at a time, but rather they are turned on in some group combinations that suit the occupants requirement. These combinations are called ‘scenes’ or ‘profiles’ because they create the necessary ambience that the occupant wishes to experience.

Many home owners are adopting Home Automation solutions. Most Home Automation solutions allow users to create such ‘profiles’ or ‘scenes’ on their Smart Apps. Users can typically choose the various lighting, fans, AC, curtains and other combinations for each ‘profile’ and they can also change these profiles as their tastes or circumstances change. There can be profiles for when one wakes up in the morning (e.g ‘Good Morning’ profile) and another for when going to sleep. Similarly they may be for events, like when leaving the home (‘Good Bye’ profile) or when watching a movie (‘Cinema’ profile) and so forth.

While many Home Automation solutions allow the convenience of using profiles via Smart App or voice assistants like Alexa/Google, they do not offer physical ‘switch-like’ device on the walls that could trigger these same ‘profiles’. The introduction of ‘Keypads’ as a part of the Home Automation solution has changed that. Keypads now offers home automation users with tremendous flexibility to execute such ‘scenes’ or ‘profiles’ without needing to resort to a Smart App or Voice commands. BuildTrack’s keypads are designed to be identical to the Smart Touch Switches and can blend in within the switches. In fact they can also be part of a switch panel or independently on their own panel.

The advantages of the keypads are many,

  1. A keypad has a small footprint and does not occupy the space that multiple switches might take up on any wall. It can be used as an alternative to switches when home automation is deployed.
  2. BuildTrack keypads are unique in their ability to control not just lighting, but also curtains, blinds, ACs, Fans, TVs, Projector mounts and more. Most other keypads in the market can only handle lighting scenes.
  3. BuildTrack keypads are mapped to profiles that are defined on the Smart App, and since the Smart App profiles can be edited to add, remove or change specific devices (e.g. add/remove lights or change dimming levels or change desired AC temp settings) the keypads effectively serve as customizable switches.
  4. BuildTrack keypads support multi-way operation, i.e. they are 2-way, 3-way and more. If the same profile is set on multiple keypads across the home, then triggering one will show you the correct status on all
  5. Even if a home only choses BuildTrack Keypads instead of switches, BuildTrack still allows control of individual devices as switches on the Smart App.
  6. Keypads are available in wired and wireless formats. The wireless formats do not require any change to existing wiring.
  7. BuildTrack Keypads can co-exist with smart touch switches on the same switch panel, creating tremendous flexibility.

If you are interested in home automation, then take a look at BuildTrack smart keypads and smart touch switches for your home.